Free Shipping On All Orders Over £250 | Call us today on 020 8064 2095

0

Your Cart is Empty

Telescopes
  • TELESCOPES

  • ACCESSORIES

  • FEATURED

  • Binoculars
  • BINOCULARS

  • FEATURED

  • Sporting Optics
  • SPORTING OPTICS

  • FEATURED

  • Brands
  • Shop by price
  • Telescope Collimation: A Complete Guide

    10,December ,2024 4 min read

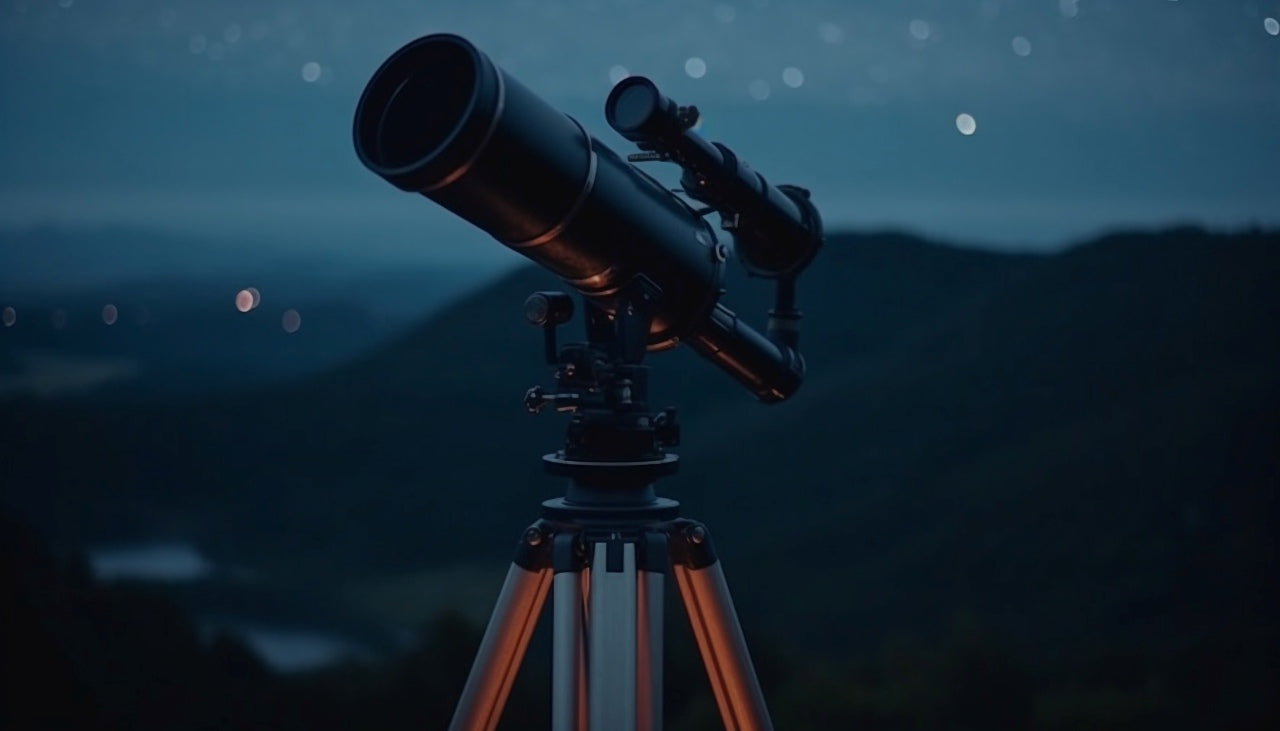
    watching milky way through a telescope

    Whether you're new to astronomy or a seasoned stargazer, telescope collimation is a term you’ve likely come across. Proper collimation is essential for getting those crisp, awe-inspiring views of the night sky. But what does it mean, and how can you ensure your telescope is perfectly aligned? This guide walks you through everything you need to know, from spotting issues to mastering the process.

    What is Telescope Collimation?

    Put simply, telescope collimation is the process of aligning the optical elements of your telescope—usually the mirrors or lenses—to ensure the light converges correctly at the focal point. When done right, your telescope delivers sharper and more accurate images. If it’s out of alignment, even the most powerful telescope can fail to show clear details.

    Collimation is most commonly required for reflector telescopes but can also be relevant for other types. While it may sound technical, once you understand the basics, it becomes much easier to maintain.

    How to Tell if Your Telescope Needs Collimation

    Sometimes, it’s obvious your telescope needs attention, while other times, the signs can be subtle. Here are some ways to check.

    Blurry or Distorted Images

    When your telescope is out of collimation, celestial objects might appear blurry or distorted, even when you’ve focused carefully. If you’ve noticed this issue and ruled out dirty lenses or atmospheric conditions, it’s time to check the alignment.

    Star Test Method

    The star test is a simple yet effective way to diagnose collimation issues. Point your telescope at a bright star and slightly defocus the image. If the star’s diffraction rings appear uneven or off-centre, your telescope likely needs collimation.

    Checking with a Collimation Cap or Laser

    Using a collimation cap or laser collimator is one of the easiest ways to confirm alignment issues. These tools help you see exactly where the light path is misaligned, taking the guesswork out of the process.

    Step-by-Step Guide to Collimating a Telescope

    Collimation might seem intimidating at first, but with the right approach, it’s straightforward. Let’s break it down step by step.

    Tools You’ll Need

    Before starting, gather essential tools like a collimation cap, a laser collimator, or a Cheshire eyepiece. These tools make the process far more precise and less frustrating.

    Preparing Your Telescope

    Ensure your telescope is set up on a stable surface and point it at a safe, well-lit area. This ensures you have a clear view of the mirrors or lenses as you make adjustments.

    Collimating the Primary Mirror

    The primary mirror is the larger mirror at the base of the telescope. Adjust its screws until the reflection of the secondary mirror is centred. Most telescopes have three adjustment screws for this purpose.

    Collimating the Secondary Mirror

    The secondary mirror redirects light to the eyepiece. Use its adjustment screws to centre its reflection within the primary mirror. Take your time here—small tweaks can make a big difference.

    Final Adjustment and Fine Tuning

    After aligning both mirrors, do a star test to fine-tune the collimation. Make tiny adjustments as needed until the diffraction rings are perfectly concentric.

    Common Collimation Mistakes and How to Avoid Them

    Even experienced astronomers can slip up during collimation. Here are a few mistakes to watch for.

    Over-tightening Screws

    It’s tempting to tighten screws as much as possible, but this can damage your telescope or make future adjustments harder. Always aim for snug, not overly tight.

    Misinterpreting the Star Test

    The star test requires careful observation. Be patient, and don’t rush the process—it’s easy to mistake atmospheric turbulence for collimation errors.

    Rushing the Process

    Collimation isn’t something to rush through. Taking your time ensures your telescope is in the best possible condition for stargazing.

    How Often Should You Collimate Your Telescope?

    close up shot of a telescope

    How frequently you’ll need to collimate depends on how often you use your telescope and whether it gets moved around a lot. If you’re setting up and breaking down your telescope frequently, check the collimation before each session. For stationary setups, monthly checks should suffice.

    Tools to Make Collimation Easier

    Investing in quality tools can simplify collimation and improve accuracy.

    Laser Collimators

    Laser collimators are precise and user-friendly, allowing you to see alignment issues immediately. They’re particularly helpful for beginners.

    Cheshire Eyepieces

    A Cheshire eyepiece is a low-tech yet effective tool that helps you visualise alignment. It’s also affordable, making it a great choice for hobbyists.

    Troubleshooting Collimation Issues

    Sometimes, despite your best efforts, collimation doesn’t yield the desired results. Here’s what to check.

    What to Do if Collimation Doesn’t Improve Image Quality

    If your images are still blurry, the problem might not be collimation. Check for other issues like dirty optics or poor-quality eyepieces.

    Checking for Damage or Misalignment

    Inspect your telescope for physical damage or loose components, as these can affect alignment. If something looks out of place, address it before continuing.

    Final Thoughts

    Collimating your telescope might feel like a chore, but it’s a skill every stargazer should master. Regular maintenance ensures you’re getting the best possible views of the universe. If you’re new to astronomy, check out our guide to using telescopes for beginners for more tips.

    Ready to take your stargazing to the next level? Explore our range and order telescopes online to start your journey. With a little practice, you’ll be collimating like a pro in no time!


    Also in Latest Blogs

    Telescope vs Binoculars: Which is Best for Stargazing?
    Telescope vs Binoculars: Which is Best for Stargazing?

    18,December ,2024 4 min read

     old binoculars on pebbles
    Can You Use Binoculars for Stargazing?

    17,December ,2024 4 min read

    5 Different Types of Telescope Mount
    5 Different Types of Telescope Mount

    13,December ,2024 4 min read


    Article by:

    James Cooke, owner of Vega Vision, brings a wealth of expertise in Celestial (astro) navigation and astronomy. With a degree in Nautical Science and years of experience as a ship's captain, James has applied his practical knowledge of the stars at sea as well as at home. His passion for astronomy and astrophotography, along with his work as a semi-professional photographer with a number of published images, gives him a deep understanding of optics and celestial observation. This expertise translates seamlessly into his role at Vega Vision, where he handpicks high-quality telescopes and optical equipment for his customers. James’s unique blend of technical skill and hands-on experience ensures Vega Vision provides trusted, expert guidance and exceptional products for stargazers, astrophotographers and nature lovers alike.