The Dwarf3 telescope looks good easy to set up as a pensioner ILike it but not able to use it yet many thanks.
So far I am very impressed with the dwarf 3 I am getting the hang of setting it up the app is easy to follow
Free Shipping On All Orders Over £250
05,February ,2025 6 min read
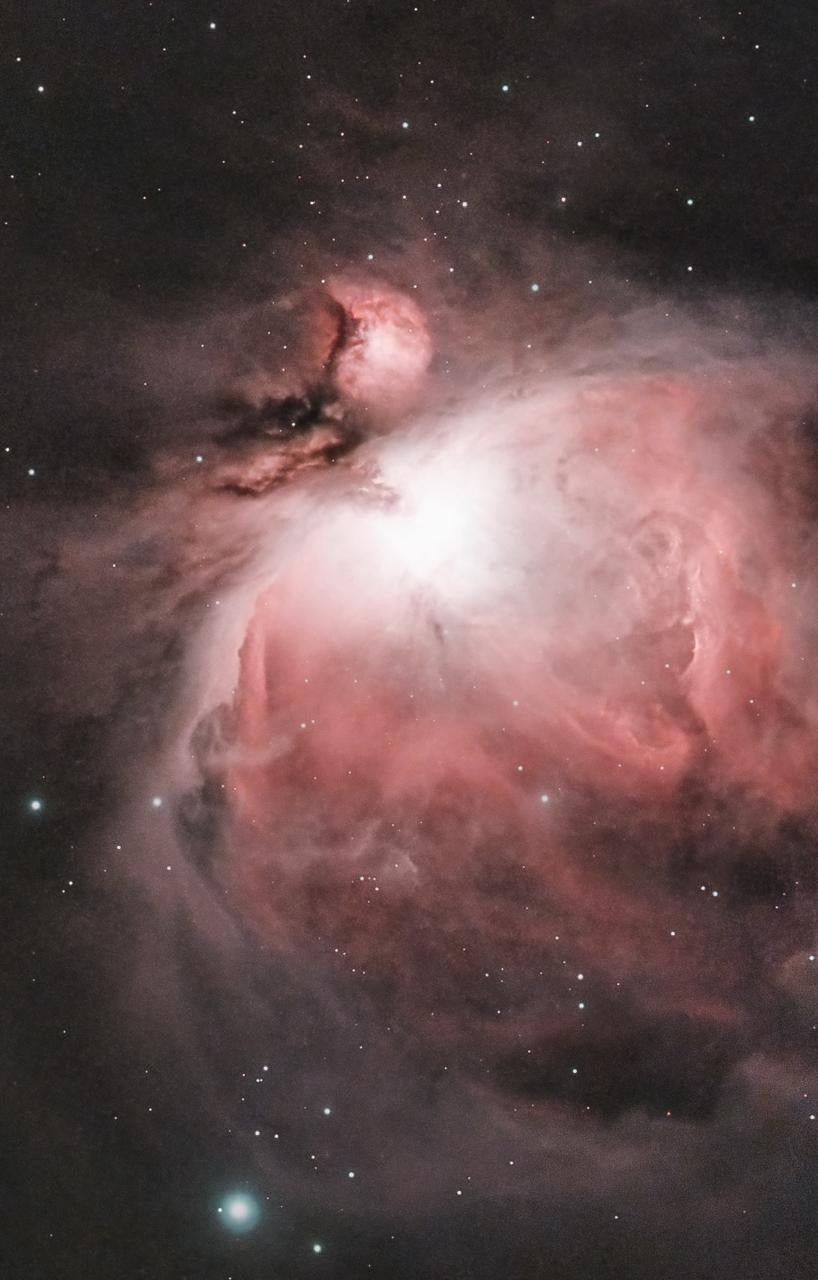
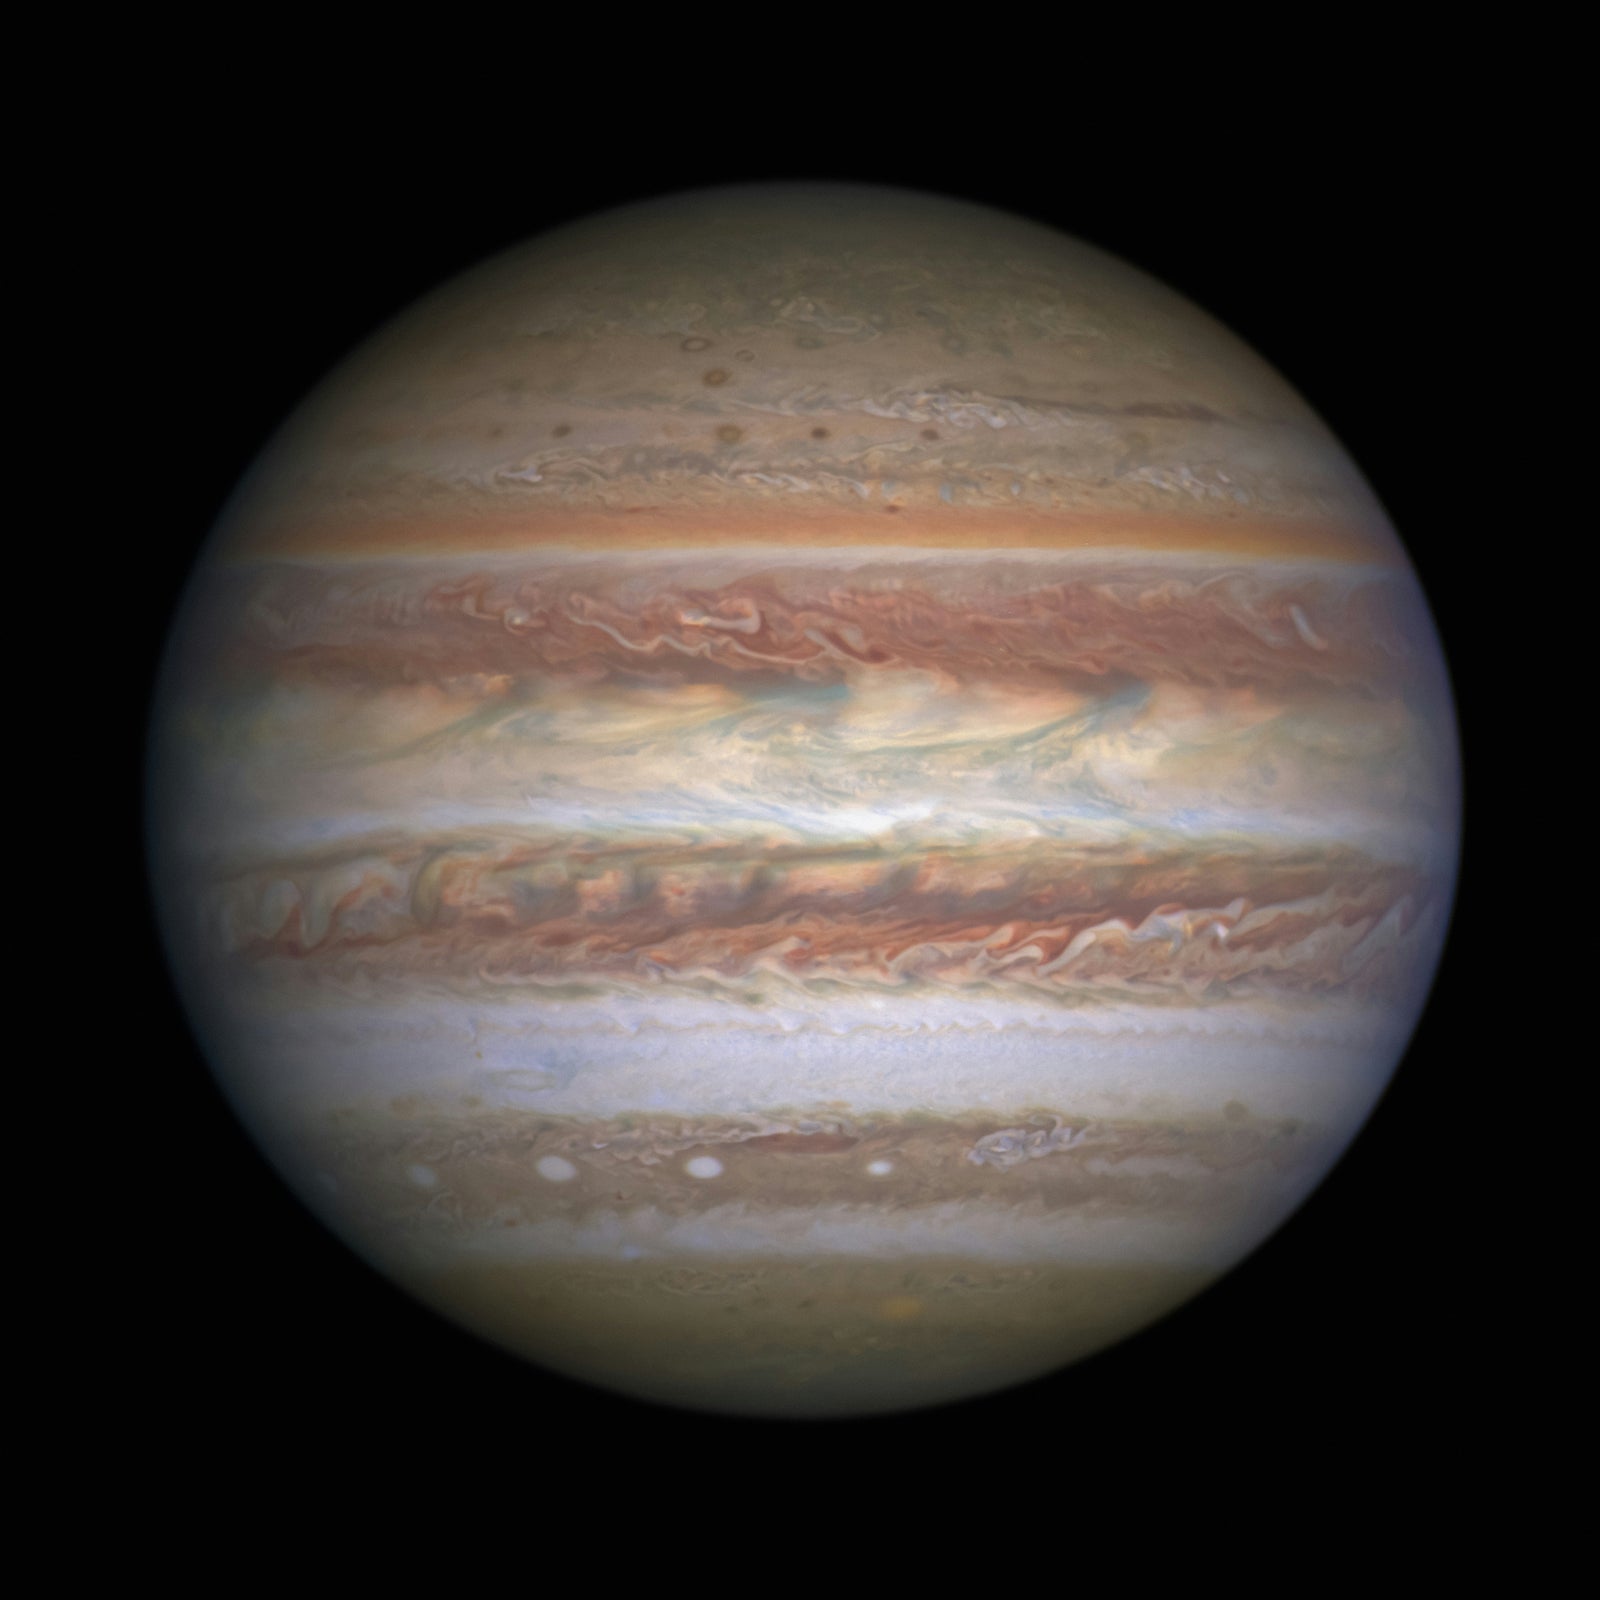
Astrophotography is one of the most rewarding ways to explore the universe. Whether you're capturing the glowing bands of Jupiter, the craters of the Moon, or the majestic Andromeda Galaxy, the journey starts with having the right tools. This blog is the first in a multi-part series that will guide you through everything you need to begin your astrophotography adventure. Let’s start by focusing on choosing the right equipment.
Astrophotography combines science and art, allowing you to document the beauty of the night sky while learning about the cosmos. It’s a perfect way for both beginners and experienced astronomers to deepen their connection with space. Plus, with the availability of advanced yet affordable equipment, astrophotography has never been more accessible.
Choosing the right telescope is crucial, as no single telescope can excel at everything. Each type of telescope is designed to specialise in certain areas, such as wide-field imaging, high-magnification planetary observation, or deep-sky imaging. Understanding these strengths can help you choose the best option for your specific astrophotography goals. Here’s a deeper look into popular telescope designs:
Refractors are a popular choice for astrophotography due to their simplicity and optical quality. They are particularly well-suited for wide-field imaging and capturing deep-sky objects (DSOs) like galaxies and nebulae.
Why an 80mm Refractor is a Great Option
An 80mm refractor is widely considered one of the best starting points for astrophotography. It offers:
Example: An 80mm ED refractor provides an excellent balance of affordability, performance, and ease of use, making it a reliable option for beginners and hobbyists alike.
Tip: If purchasing a complete setup, look for a telescope with a fast focal ratio (f/5 to f/7) for better light-gathering capability. When buying individual components, ensure the telescope complements the mount’s stability to prevent vibrations during long exposures.
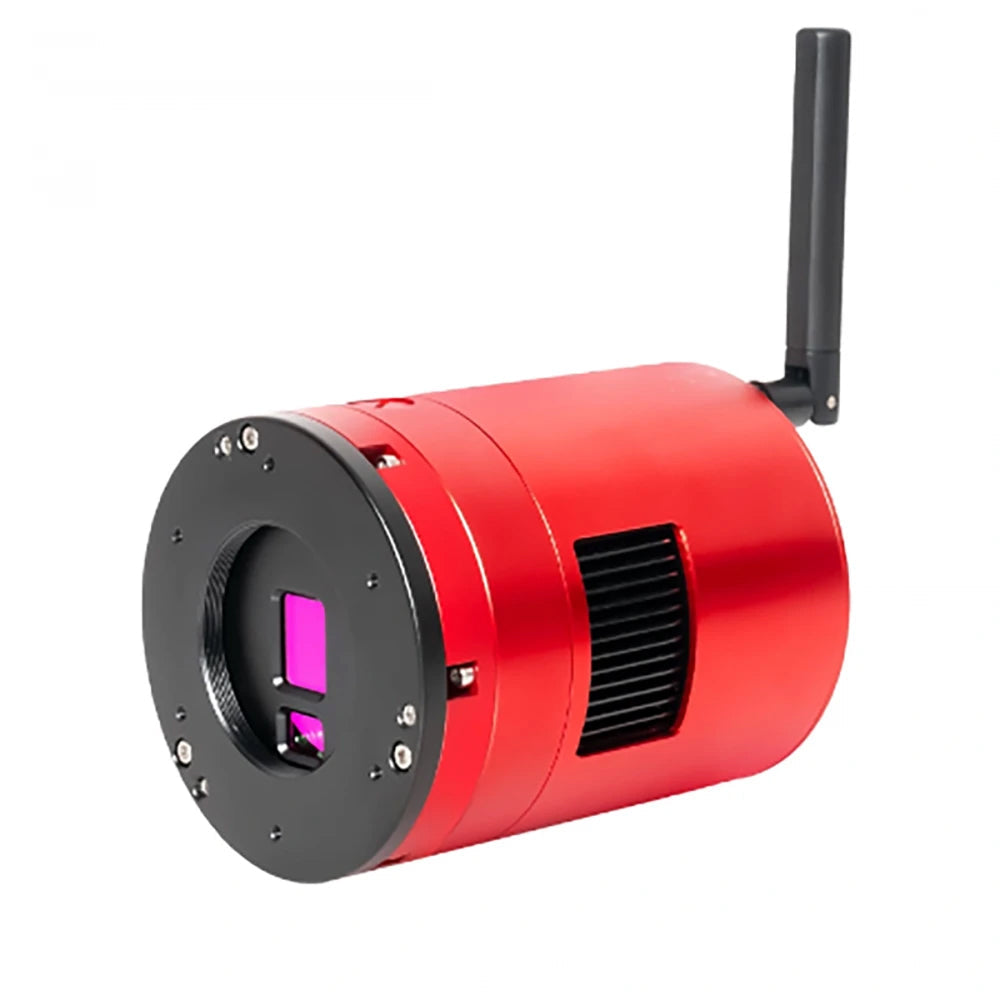
Tip: Mono cameras paired with a filter wheel are excellent for detailed deep-sky imaging but may require more effort and processing than colour cameras.
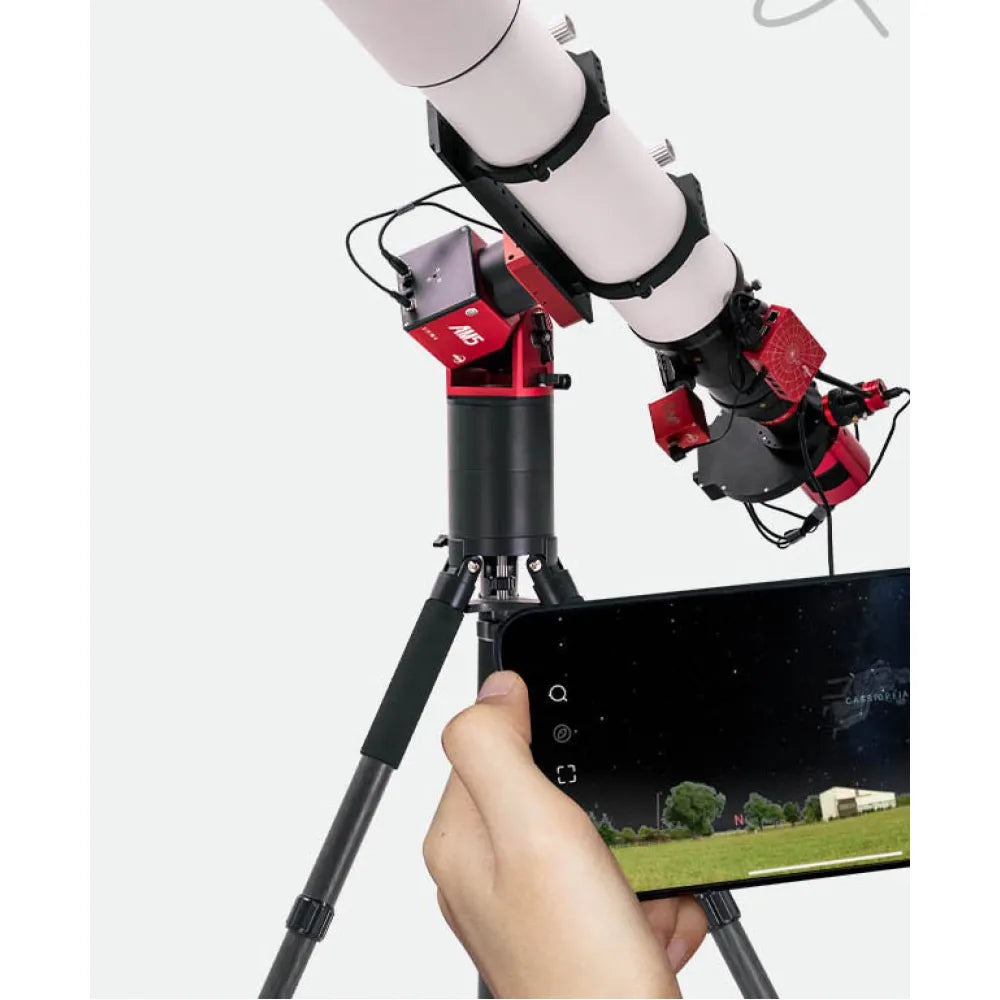
A solid mount is essential for clear, detailed images. It is arguably the most critical component of your astrophotography setup.
Tip: Always consider a mount’s weight capacity—it should comfortably handle your telescope and all additional accessories, such as cameras, guide scopes, and dew heaters. For astrophotography, aim to load only about 75% of the mount’s maximum capacity to ensure stability and minimise vibrations during imaging.

Prevent condensation on your telescope’s optics, ensuring clear views during cold or humid nights. Dew heaters are particularly useful for extended sessions where environmental conditions can degrade image quality.
A guide scope, paired with a guiding camera, ensures precise tracking during long exposures by correcting any mount deviations.
Popular guiding software like PHD2 integrates with your mount to provide real-time adjustments.
Filters are invaluable for improving image quality and contrast in astrophotography. For example:
Tip: Match your filters’ size (1.25″ or 2″) to your imaging setup.
Filters are invaluable for improving image quality and contrast in astrophotography. For example:
Tip: Match your filters’ size (1.25″ or 2″) to your imaging setup.

Once your equipment is ready, start with bright, easy-to-locate objects:
Astrophotography is a journey that begins with the right equipment. By selecting a telescope, camera, and mount suited to your goals and pairing them with essential accessories, you’ll be well on your way to capturing the wonders of the universe. Start simple, experiment with settings, and enjoy the learning process as you uncover the secrets of the night sky.
There are many ways, techniques, and opinions in astrophotography, with countless combinations of equipment to achieve your desired results. When the technical elements feel overwhelming, take a moment to remember why you started this journey—pause, look up, and rediscover the beauty and wonder of the night sky.
Stay tuned for the next part of this series, where we’ll dive into basic techniques and camera settings for astrophotography.
15,July ,2025 4 min read
James Cooke, owner of Vega Vision, brings a wealth of expertise in Celestial (astro) navigation and astronomy. With a degree in Nautical Science and years of experience as a ship's captain, James has applied his practical knowledge of the stars at sea as well as at home. His passion for astronomy and astrophotography, along with his work as a semi-professional photographer with a number of published images, gives him a deep understanding of optics and celestial observation. This expertise translates seamlessly into his role at Vega Vision, where he handpicks high-quality telescopes and optical equipment for his customers. James’s unique blend of technical skill and hands-on experience ensures Vega Vision provides trusted, expert guidance and exceptional products for stargazers, astrophotographers and nature lovers alike.
The Dwarf3 telescope looks good easy to set up as a pensioner ILike it but not able to use it yet many thanks.
Seestar S50 All-in-One Smart Refractor Telescope
So far I am very impressed with the dwarf 3 I am getting the hang of setting it up the app is easy to follow